
Composting - Part 1: The Plan
We are in the process of making our home more sustainable and moving toward a zero-waste lifestyle. One of the first things I thought of when beginning this journey was starting a compost pile. It is something I have wanted to do since we moved into our home, and I just haven’t found the time or the resources to get the whole process started yet. I have an image in my head of a compost barrel outside, made from a re-purposed 55-gallon drum. In my mind’s eye, the drum would be on castors, or some sort of system that allows it to be rolled in place. This alleviates some of the stress of having to turn the pile and would also make the pile less accessible to the numerous critters that live outdoors by my home.
Fortunately for me, my husband knows how to weld, and is more than capable of making this image a reality for me when he finds the time. We have finally acquired the barrel that I intend to use, and now it is a matter of getting everything all set up. I am a bit of a researcher. I love to learn, and I enjoy being as educated as I can about a subject before I dive in head over heels. So, I have been doing my research, and while I wait for hubby to get my barrel all set up, I am coming up with a game plan.
I wanted to share the process and the journey with you all as I go along, so here's Part 1: The Plan.
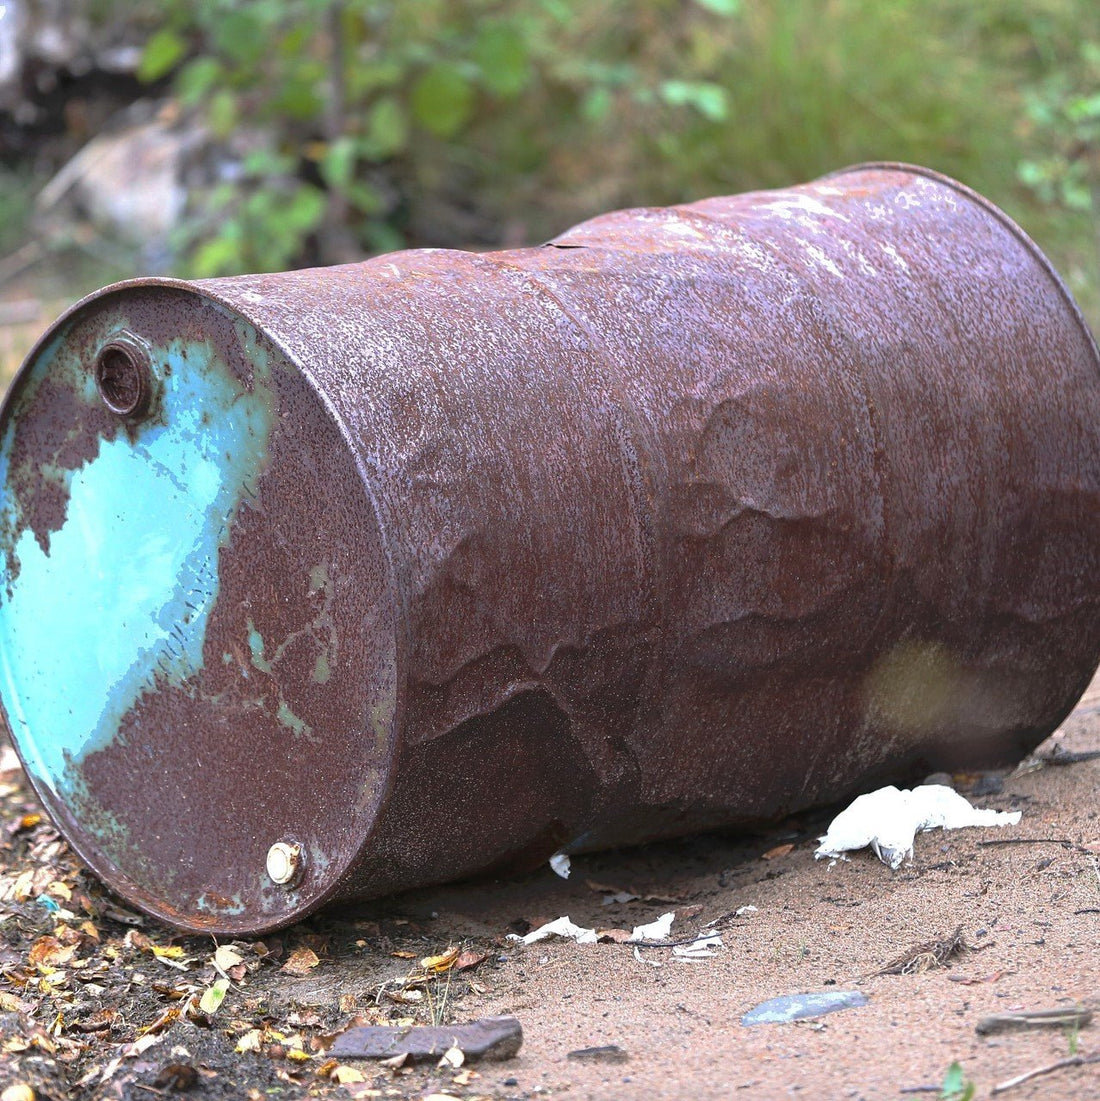
My barrel – I told you briefly what my plan is for the barrel. I have a 55-gallon steel drum that is going to serve as the holder for my compost heap. I need to have easy access to the barrel, it needs to be secure from wildlife, needs to be turn-able, and needs to have ventilation.

My thought process on this was to have a hinged door on one of the sides of the barrel. I’m going to let hubby decide the most ideal location for the door, as he is the one who must cut and weld the pieces together for me. Ideally, this door will have some sort of locking mechanism, both so that it stays shut when turning, and so that animals cannot get in.
Next step is to make the barrel turn. My first thought was some sort of spit-like structure, that the barrel would hang on. The spit would have a handle and would turn the way you would turn food over an open fire. This idea, while perfect in my head, seems like a whole lot of extra work and unneeded supplies. On to idea two, which I mentioned earlier: the idea of castors. For this option to work, the barrel itself would sit on a frame. The frame would have wheels that point up, and the barrel would rest on the wheels. This makes the barrel free from the frame, and super easy to turn. This is definitely the plan I want to go with. It means that over time, if the barrel gets worn out, or begins to rust and rot, it can be replaced, without having to replace the entire setup.
My final step in this part of the process is to make sure the compost pile has good airflow. This should be the easiest part of the project, as it just involves drilling some holes in the barrel. The holes need to be small enough that debris, compost, and worms cannot escape, but also large enough that air can circulate. Originally, I thought having holes all around the barrel was the way to go, but after reading a ton of articles, I think the best way to do this is to have holes drilled only at what will be the top of the barrel. When the barrel is turned, the holes will face the bottom, but only briefly before the barrel faces right side up again.
That’s it!! My barrel concept is complete!! Stay tuned to follow this journey, and watch my composting dreams become a reality!