
DIY Vegan Hair Mask
I've spent a lot of time lately talking about hair. One of my favorite things to do when my hair gets dry and damaged (I have bright green hair, so it gets dyed frequently), is an at-home hair mask!
Things to keep in mind before you get started:
- This mask can be messy, so wear an old shirt.
- A warm mask will work better than a cold one, but you don't want hot!
- Hair masks should be left on for a minimum of 15-30 minutes. The longer you leave it on, the more it can work
- Sometimes hair is too damaged to repair.
- Long, or thick hair may require a double batch.
- Avoid using heat styling (blow dryer or straightening irons) for at least 24 hours after application.
- Don't use shampoo or conditioner with SLS or SLSA after the mask, they will strip out all of the good work you just did. (Try one of our Sulfate-Free Shampoo Bars)
Ready?

Here's what you need:
- 1/2 Avocado
- 1/2 Banana
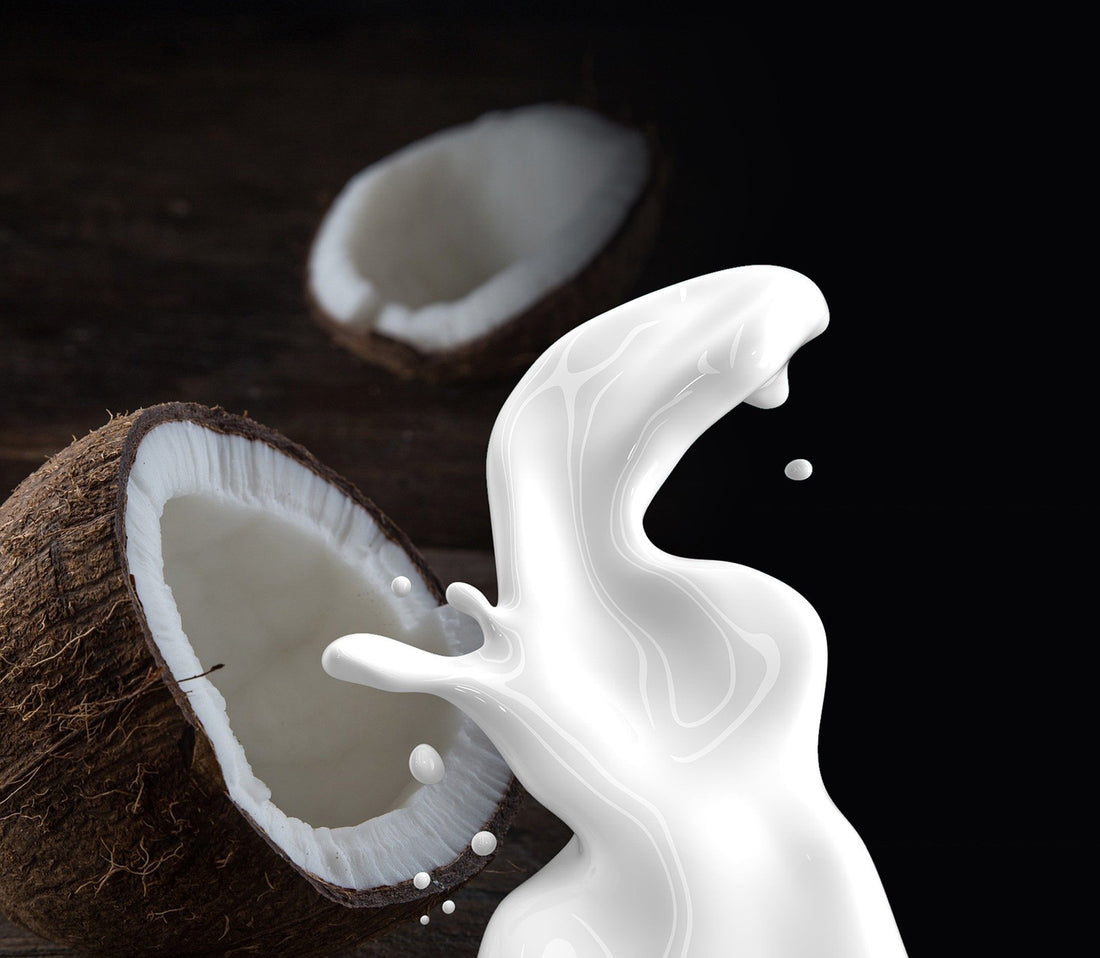
- 1/4 to 1/2 Cup Coconut Milk
- 3-5 tsp. Nourishing Oil (try olive, argan, avocado, grapeseed)

Mash & Mix
Begin by mashing up the avocado and banana with a fork. You want to eventually achieve a creamy consistency, not a lumpy one, so the more you smash now, the easier everything else will be.
Slowly add about 1/2 of the milk, and 1/2 the oil. At this point, I am still using a fork, but then I switch to a hand mixer, just to keep things fast and simple.
Feel the consistency of the mask at this point. You are looking for a thick, creamy consistency, a little thicker than conditioner. Continue adding coconut milk & oil until you have reached your desired consistency.

Heat It Up
This step is totally optional, but having the mask warm will help your hair to gain as many of the beneficial qualities as possible. You want to avoid making the mixture hot though, because this will ruin the mask, and you risk burning yourself. A quick heat up on the stove while whisking is the best bet, and it takes no time.
Apply & Wait
Now comes the fun part. Make sure your hair is free of tangles and knots, and begin to apply the mask. I like to start at the roots and work my way down, using a comb to thoroughly disperse the mask. Once your hair is saturated, you are ready to occupy yourself for 30 minutes! Pile that hair on top of your head, and cover with cling-wrap or a plastic bag. This helps keep the heat of your head in.
Rinse
The rinse phase can be done a few different ways. I personally only rinse the mask from my hair, and do not follow it with any sort of shampoo or conditioner. You can, however, use a nourishing shampoo, as long as it is gentle. Avoid anything with SLS or SLSA, as these ingredients are likely to strip the awesome right out of your hair.
Do you have a favorite DIY hair mask? Tell me about it in the comments!
Updated 1.26.20